Distributed caching with a system like memcached or redis comes at a cost! If you haven’t added a remote cache yet, here’s some costs to consider:
- The operational cost of actually standing up and maintaining a remote caching service. Is it a managed service like AWS elasticache or self managed? What are the failure modes? How does it get secured and upgraded?
- More complexity in having another system in the call stack that makes it harder to understand and troubleshoot application behavior. Data freshness and consistency issues come to the forefront whenever a cache (or really any derived data) is involved.
- General exposure to a entire class of new problems (cascading failures) that comes with sharing load with another system.
Even if you already operate or use a remote cache, caching any bit of data still adds complexity to your application – and not the essential kind. It’s easy to use caching strategies as a hammer for every performance issue, but here are some questions I recommend you ask before reaching for caching as a solution.
Have I figured out what the problem really is? Is speed really an issue?
Programmers tend to want everything to be fast – and while it’s important that apps generally feel snappy and help users get stuff done efficiently, speed doesn’t impact the user experience the same way in every interaction they have with your app.
For example, users expect fast read experiences (like searching a catalog on ecommerce sites) but slower write / update experiences (like submitting a payment). If you spend all your time optimizing a slow payment submit process when most of your users are bouncing because they can’t be bothered to even look at your inventory, you’re wasting your time.
What specifically needs to be faster and by how much?
Just like most metrics, optimization has diminishing returns. How fast do you want an experience to be? Under a second? Under 100 milliseconds? If your p99 is < 100ms and there’s no reason to believe that your users are unhappy with performance, the return on investing time in reducing latency may be low.
The marginal value of optimization depends on your use-case and current baseline performance. If you’re a backend API team with an SLA, the specific numbers may even be hard coded into a contract. If there are no binding agreements on performance, the requirements are fuzzier and may be driven more by best practices and customer reports. In either case, do some cost benefit analysis – this doesn’t have to be rigorous and sometimes the reason to do it regardless of how high the lift is may be as simple as “users will stop using this dashboard if it continues taking five seconds to load”.
Finally, once you’ve picked a target don’t forget to measure your performance progress. Are there certain metrics (percentile latency, profiling stats, etc) you can use to describe the current performance and how will you know when you’ve reached your goal? I really enjoy performance work, but I also know I need to know when to stop at the risk of losing sight of other goals.
Can I optimize without caching?
Reaching for caching as a strategy in a first pass at performance work does two things that are not ideal for the resilience of your system.
- It hides inefficiencies (poorly written queries, N^2 algorithms) that exist in your program that will be much more difficult to spot once the cache is in place.
- It can make your cache load bearing over time, meaning unless your cache is healthy, your application is unusable under normal load. Since most distributed in-memory caches are, by design, meant to be volatile and ephemeral, cold-cache events become an Achilles heel for your system.
Before you cache data, consider common performance bottlenecks in your system. Some common examples for web apps are:
- Excess database querying such as N+1 queries.
- Excess memory allocation, especially for garbage collected languages. I currently use rails for word and Active Record object allocations are particularly expensive since they lead to longer GC cycles that impact latency.
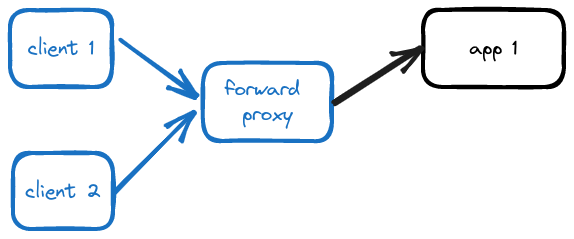
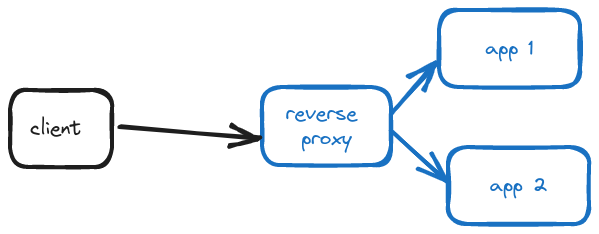
- Missing HTTP response compression (gzip compression for example at a reverse proxy).
- In-efficient algorithms, such as slow compute inside nested loops. Worth knowing the basics of Big O here.
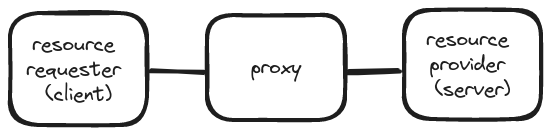
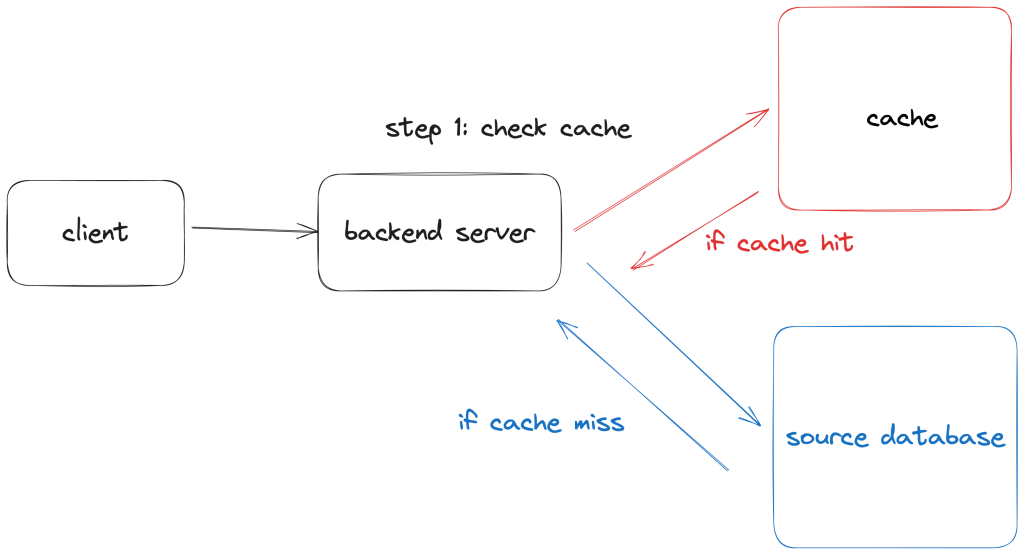
Can I cache outside of my origin server?
Ok, so you need to cache – but can you cache the data such that:
- The data is as close to the requester as possible, therefore much faster to serve!
- Your backend server can sit back and do zero work (isn’t that great?)
The good news for web applications is that browser clients have their own cache. By using proper cache-control HTTP headers, you can have control over what requests are cached and for how long. If the data is too dynamic (unique to individual users for example) to cache for any length of time, consider if you can make it static (same for all users). If you can’t make it static, can you extract the parts that are static and cache that?
Most enterprise applications with global customer bases also make use of Content Delivery Networks (CDN’s) that have points of presence (data centers strategically located in geographic locations around the world) that can serve requests out of its own cache without reaching to the origin servers.
Delegating caching behavior to systems closer to your clients isn’t a mutually exclusive strategy to caching at origins with remote in-memory systems, but they can be a low effort (implementation wise) and significantly faster caching approach so they’re worth trying out first if they’re not being used.