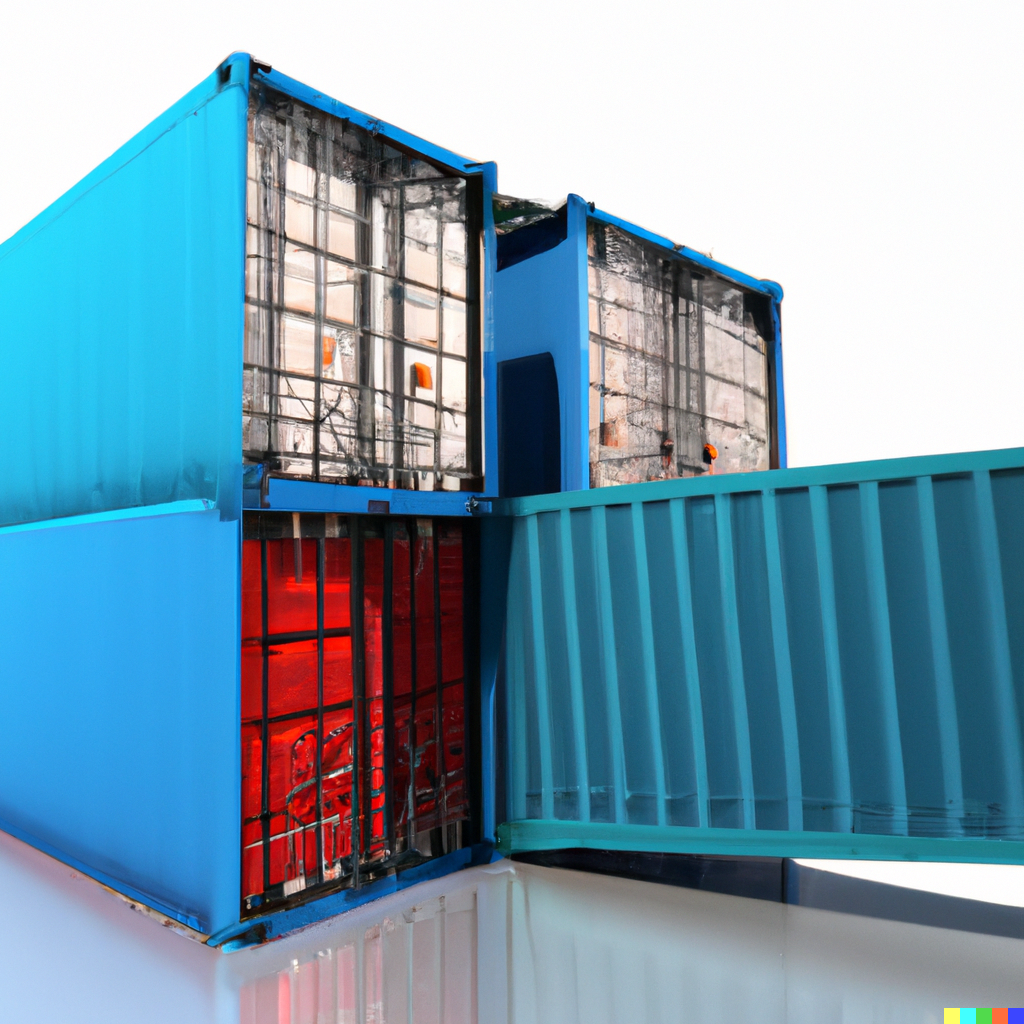
how do you inspect a shell-less docker image?

a common task i do is open bash in a container to inspect the file system….

but what happens when there is no shell at all in the image?

for example

FROM scratch

WORKDIR src

COPY README.md .

and if i run docker build . -t minimal-image to build the image, how would i confirm the contents were indeed copied over?

if i run docker run minimal-image:latest bash, i get

docker: Error response from daemon: failed to create task for container: failed to create shim task: OCI runtime create failed: runc create failed: unable to start container process: exec: "bash": executable file not found in $PATH: unknown.

this makes sense because the scratch image doesn’t actually contain anything. it’s not shipped with a bash interpreter.

so what to do…

the workaround is to use the docker export command. this requires a container, so first build the container

docker create --name minimal-container minimal-image:latest echo "hello world"

and then we can finally export this to a .tar file

docker export minimal-container -o out.tar

now lets unzip/decompress the tar into a directory called tmp. if i don’t specify a destination directory, the contents will get unzipped directly into my current directory, which includes my host files! don’t want that 馃檪

mkdir tmp && tar -xzf out.tar -C tmp

this gives me, with ls tmp

dev
etc
proc
src
sys

now before i had my WORKDIR image instruction to set the working directory to src right before my COPY instruction, and that is indeed where i find the file i copied.

anyway that’s how you inspect contents of an image without a shell!

bind mounts on macos are slow

bind mounts are what i’m accustomed to using for local docker dev. they’re the typical go to for being able to use host-native dev tooling to edit source code and ensuring that those changes are immediately reflected in the container environment. they work fine, for the most part.

my biggest issue with them has always been the speed on mac. every company i’ve worked at provisions mac’s for dev machines and the biggest reason for the slowness is because on a mac, docker is actually running in a linux VM. afaik there is no native mac container technology – they’re built for linux. so docker makes this work by running a hypervisor using apples virtualization framework. virtualization is cool but it’s expensive.

when docker desktop starts up, it mounts paths like /Users into the virtual machine and makes that available to processes running inside the container. this is what allows source directories in the mac host machine to be bind-mounted. unfortunately, every i/o operation incurs an extra cost in mapping a read or write operation in the virtual machines virtual file system to a read or write on the actual host file system.

i don’t think there’s much you can do about this cost – it’s always going to be an extra level of indirection so it’s not going to ever match native, no-container i/o speeds. but there are some alternatives that i’m eager to try out in the future

  • dev containers is basically taking containerization to the extreme – what if your entire workflow / tooling was inside a container?!
  • docker released https://docs.docker.com/desktop/synchronized-file-sharing/ , this tackles this problem by asking the question “what if we can copy/sync file changes really fast into the container?” instead of forcing the vm to reach across file system boundaries

Difference between Docker ENTRYPOINT and CMD

ENTRYPOINT and CMD are two docker commands that sound interchangeable, but there are important differences that I’ll cover in this post. I suspect CMD is probably the more familiar instruction, so I’ll go over what that does and how it differs from ENTRYPOINT.

Here’s the purpose of CMD, taken straight from the docker manual:

The main purpose of a聽CMD聽is to provide defaults for an executing container.

https://docs.docker.com/engine/reference/builder/#cmd

If you start a container via docker run or docker start and you don’t supply any commands, the last CMD instruction is what gets executed. In most docker files, this effectively acts as “main” or … “entrypoint”. I put entrypoint in quotes both to distinguish it from the formal ENTRYPOINT instruction and to show you why this naming is confusing!

Here’s an example of a dockerfile that runs the rails server using CMD

# Use a base image with Ruby and Rails pre-installed
FROM ruby:3.2

# Set the working directory inside the container
WORKDIR /app

# Copy the Gemfile and Gemfile.lock to the working directory
COPY Gemfile Gemfile.lock ./

# Install dependencies
RUN bundle install

# Copy the rest of the application code to the working directory
COPY . .

# Set the default command to run the Rails server
CMD ["rails", "server", "-b", "0.0.0.0"]

CMD does not create a new image layer, unlike commands like RUN. It does not do anything at build time. So when you run docker build to create a docker image from a dockerfile, rails server is not being executed. It purely a runtime (container runtime) construct. This interleaving of instructions in docker that are intended for difference stages of a container lifecycle is also a common source of confusion for beginner users of docker.

In practice, at least from my experience, CMD is sufficient. I work on mostly web services and the vast majority of containers are running a server process of some kind using CMD <start server> after the application dependencies are build. For most situations, this is enough and you never have to think about or even be aware of the existence of ENTRYPOINT.

Have a nice day.

Just kidding, okay lets go over ENTRYPOINT now.

Here’s a rather confusing description on dockers website on what ENTRYPOINT is:

An聽ENTRYPOINT聽allows you to configure a container that will run as an executable.

https://docs.docker.com/engine/reference/builder/#entrypoint

So CMD is to provide defaults for an executing container and ENTRYPOINT is to configure a container that will run as an executable. That’s a little confusing because using CMD sort of also allows you to run a container as an executable right? You start the container and something executes!

Here’s a simpler definition:

An ENTRYPOINT is always run. It doesn’t matter what arguments you’re passing when running docker run. ENTRYPOINT is never overwritten. If arguments are passed, those are appended to the end of what’s already specified in ENTRYPOINT.

Here’s an example of using the ENTRYPOINT instruction in a Dockerfile:

FROM ubuntu:latest
ENTRYPOINT ["echo", "Hello, World!"]

In this example, the ENTRYPOINT is set to the command echo "Hello, World!". When a container is created from this image and started, the message “Hello, World!” will be printed to the console. Running docker run my-image "Welcome" would result in the message “Hello, World! Welcome” being printed.

Let’s take a look at an example using CMD to demonstrate the override behavior:

FROM ubuntu:latest
CMD ["echo", "Hello, World!"]

In this case, the CMD instruction specifies the default command as echo "Hello, World!". However, if a user runs the container with a different command, the specified command will override the CMD instruction. For instance, running docker run my-image "Welcome" would output “Welcome” instead of the default message “Hello, World!”. The entire command is overridden.

Both CMD and ENTRYPOINT can be used together in situations where you want

  • A particular command to always execute (this is where ENTRYPOINT comes in handy) that cannot be overridden
  • A set of default arguments for the ENTRYPOINT command

This offers some flexibility in how users of your image can provide custom arguments to alter the runtime behavior of your container. In cases where you don’t need that customization or where it’s perfectly fine for users to provide their own “entrypoints”, just use CMD.

running docker container as non-root

one common misconception is that containers provide a secure and isolated environment and therefore it’s fine for processes to run as root (this is the default). I mean, it’s not like it can affect the host system right? Turns out it can and it’s called “container breakout”!

dalle2 container breakout

with containers, you should also apply the principle of least privilege and run processes as a non-root users. This significantly reduces the attack surface because any vulnerability in the container runtime that happens to expose host resources to the container will be less likely to be taken advantage of by a container process that does not have root permissions.

here’s a rough skeleton of how you can do this by using the USER directive in the Dockerfile:

# Create a non-root user named "appuser" with UID 1200
RUN adduser --disabled-password --uid 1200 content

# Set the working directory
WORKDIR /app

# Grant ownership and permissions to the non-root user for the working directory
RUN chown -R appuser /app

# Switch to the non-root user before CMD instruction
USER appuser

# ... install app dependencies ...
# this may involve copying over files and compiling

# Execute script
CMD ["./run"]

one thing worth mentioning in this example is permissions.

we use the USER instruction early on right after we change the ownership of the working directory. since this is happening before we enter the application building phases, it’s possible that the permissions of the user appuser is insufficient for subsequent commands. For example, maybe at some point in your docker file you need to change the permission of a file that appuser doesn’t own or maybe it needs to write to a bind-mounted directory owned by a host user. If this applies to your situation, you can either adjust permissions as needed prior to running USER or move USER farther down towards the CMD instruction.

generally speaking, it’s also good practice to ensure that the files that are copied over from the host have their ownership changed to appuser. this isn’t as critical as ensuring that the process itself is running as non-root via USER since if an attacker gains privileged access, they can access any file in the container regardless of ownership. nonetheless it’s a good practice that follows the principle of least privilege in that it scopes the ownership of the files to the users and groups that actually need it.

other resources if you’re interested in learning more about this topic:

  • https://medium.com/jobteaser-dev-team/docker-user-best-practices-a8d2ca5205f4
  • https://www.redhat.com/en/blog/secure-your-containers-one-weird-trick
  • https://www.redhat.com/en/blog/understanding-root-inside-and-outside-container